How to Clone Your SSD to a New SSD Using Clonezilla (Free & Safe Method)
Upgrading your SSD but worried about transferring all your Windows files, software, and data? Don’t worry — instead of using paid cloning tools with trial limits, you can clone your entire SSD for free using Clonezilla.
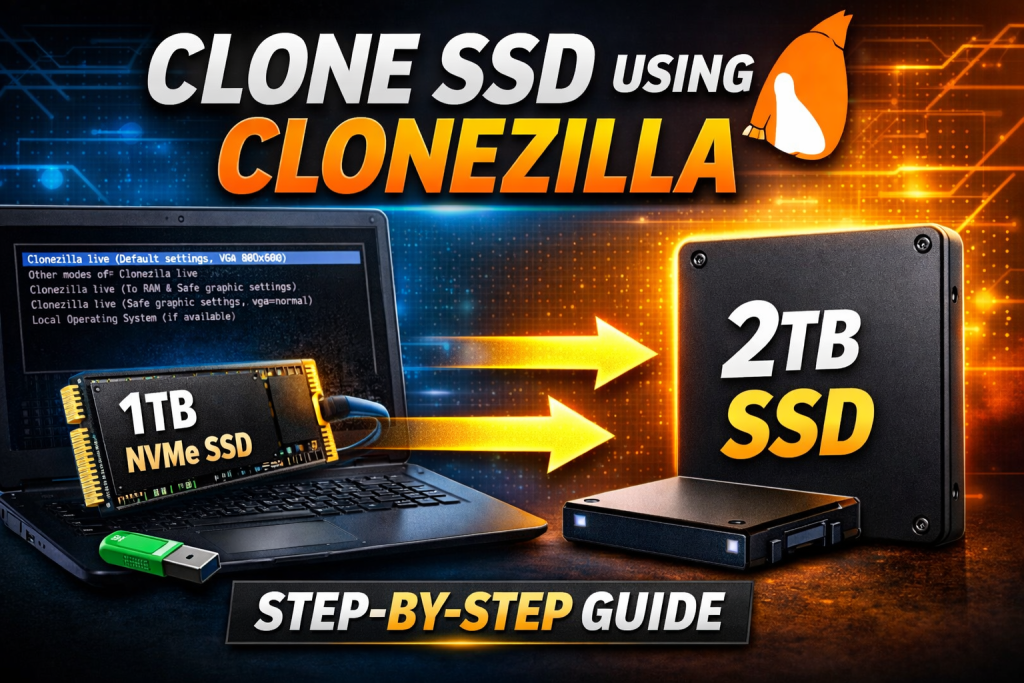
In this guide, I’ll show you how to create a bootable Clonezilla USB, clone your old SSD to a new one, and safely migrate everything — including Windows and installed programs — without losing any data.
🟢 Step 1 — Download Clonezilla
- Open Google and search for Clonezilla.
- Go to the official website and click Download.
- Select the Stable Version.
- Under File Type, choose ISO file and download it.
🟢 Step 2 — Download Rufus
- Search Rufus on Google.
- Open the first website and click Download.
- Choose the Standard version and download it.
🟢 Step 3 — Create a Bootable USB
- Plug in your Pendrive.
- Open Rufus.
- Select the Clonezilla ISO file you downloaded.
- Click Start, confirm prompts, and wait until the process is complete.
🟢 Step 4 — Connect the New SSD
- Plug your external SSD into the laptop/PC.
- You may use a Caddy or SSD enclosure.
- Restart your system and enter the Boot Menu.
- Make sure both the USB and SSD are connected before booting.
🟢 Step 5 — Boot from USB
- Select Boot from USB.
- Clonezilla Live will open.
- Choose Clonezilla Live to start the setup.
🟢 Step 6 — Initial Clonezilla Setup
- Select English as the language.
- Keep the default keyboard layout.
- Click Start Clonezilla.
🟢 Step 7 — Select Cloning Mode
You’ll see multiple options.
- Choose device-to-device (because we want to clone the entire SSD including Windows and software).
- Select Beginner Mode to avoid complications.
🟢 Step 8 — Choose Disk-to-Disk Clone
Clonezilla will ask whether to clone disk or partition.
Select:
👉 Disk to Disk (to copy the entire drive with all data).
🟢 Step 9 — Select Source & Destination Drives
- Choose your Source Drive (the original SSD — e.g., 1TB NVMe).
- Choose your Destination Drive (the new SSD — e.g., 2TB).
🟢 Step 10 — Partition Table Mode (Important)
Clonezilla gives two options:
- K0 → Clones partitions with the same size (extra space remains unallocated)
- K1 → Uses the full SSD capacity automatically
👉 Select K1 (recommended).
🟢 Step 11 — Log File & Shutdown Option
- Skip log file saving → press Enter
- Choose the first option, so you can manually decide whether to shut down or restart after cloning.
🟢 Step 12 — Start the Cloning Process
- Press Enter to continue.
- Clonezilla will ask for confirmation twice.
- Type y and press Enter both times.
Your cloning process will now begin.
⚠️ Important Notes
- Do not touch or shut down the laptop during cloning.
- Keep the charger connected.
- Time depends on the amount of data — wait patiently.
🟢 Step 13 — Finish & Replace SSD
- Once cloning completes, press Enter.
- Choose Shutdown.
- Remove the old SSD and install the new cloned SSD.
Your system will boot with all data, Windows, and apps exactly the same.
💡 What if Your Old SSD Had Multiple Partitions?
You can:
- Move your data temporarily to the C drive, or
- Copy it to another SSD / external storage before cloning.